


Ever looked up at your roof and wondered why some chimneys have little hats on top? That’s a Chimney Cap Installation and it’s more important than most folks realize. If you’re thinking about adding or replacing one, the process is pretty straightforward, but it helps to know what’s involved before you climb up there. Let’s break it down together, step by step, so you can tackle this with confidence and keep your home safe and cozy.
Why Bother with a Chimney Cap Installation Anyway?
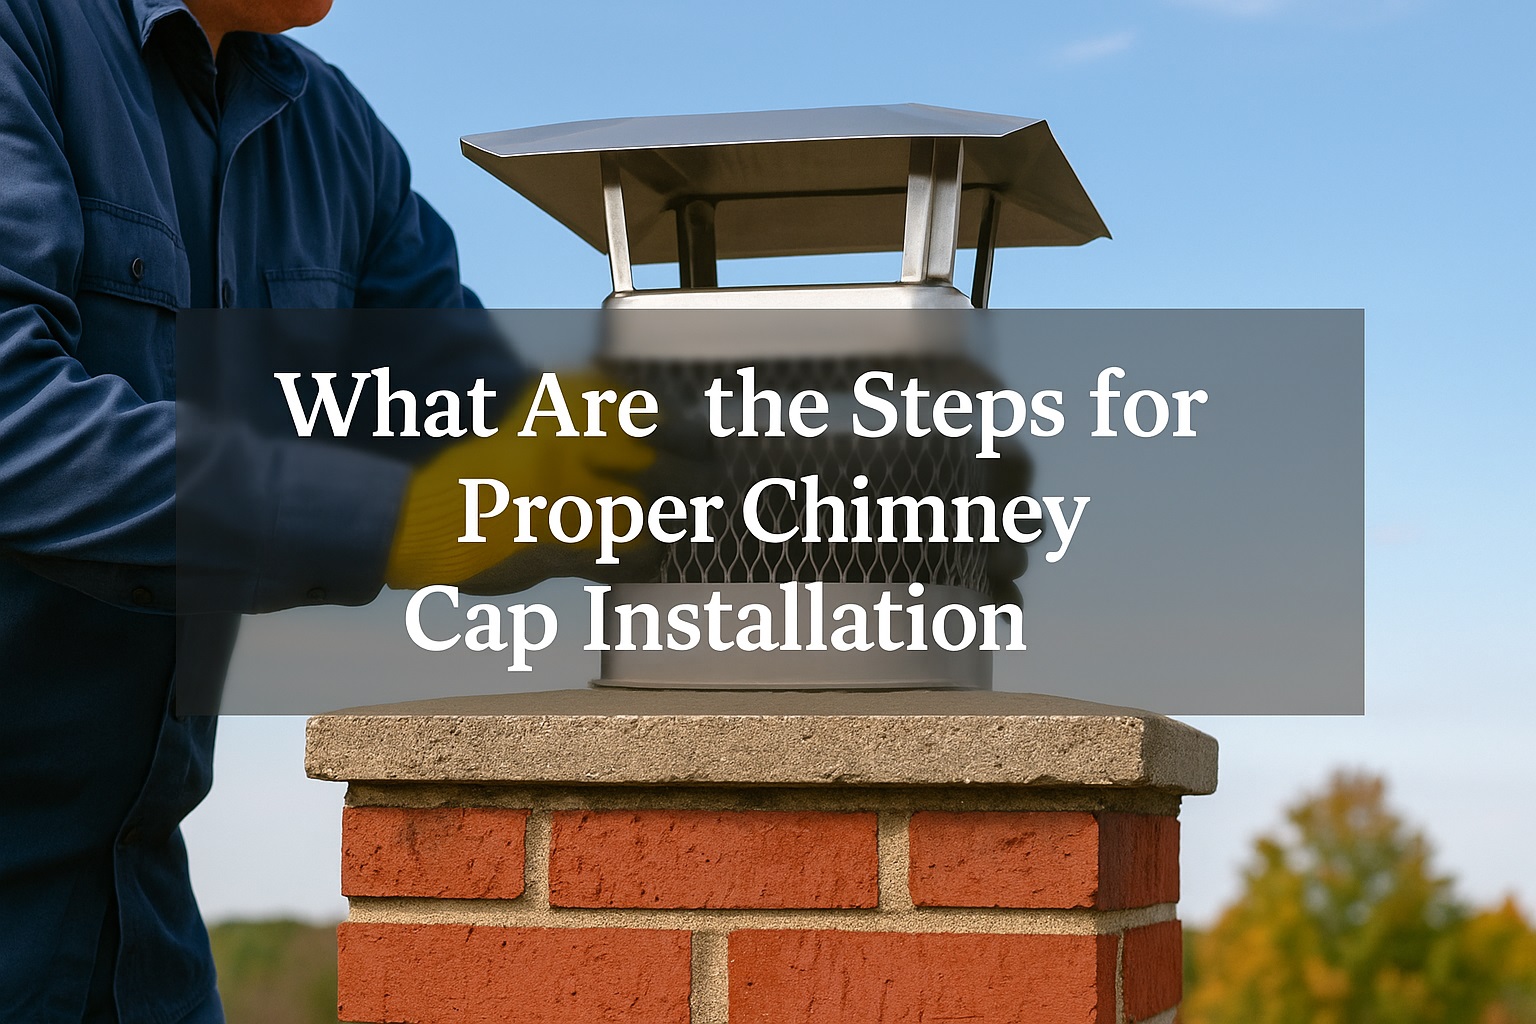
Before we dive into the nuts and bolts, let’s talk about why you’d want a Chimney Cap Installation in the first place. Imagine your chimney as a highway to the outdoors. Without a cap, you’re basically inviting in rain, leaves, critters, and all sorts of debris. A good cap acts like a doorman, letting out smoke while keeping unwanted guests and moisture at bay. It also helps prevent those pesky downdrafts that can send smoke right back into your living room. So, installing a cap is not just about looks—it’s about protection, efficiency, and peace of mind.
Gather Your Tools and Size Things Up
Like any good project, you’ll want to start by getting all your ducks in a row. Here’s what you’ll need:
| Tool/Material | Purpose |
|---|---|
| Chimney Cap | The star of the show; make sure it matches your chimney size and style. |
| Measuring Tape | To get accurate dimensions of your chimney flue or crown. |
| Screwdriver/Drill | Used to secure the cap in place. |
| Work Gloves | To protect your hands from sharp edges and grime. |
| Safety Gear | Think sturdy shoes, a harness if needed, and a buddy if possible. |
Start by measuring the length and width of your chimney flue (that’s the opening at the very top). If your chimney has multiple flues, take note of each one. Every Chimney Cap Installation is a little different, and getting these numbers right will make sure you don’t end up with a cap that’s too small or wobbly. Jot these down before you buy anything.
Stay Secure While Climbing— Chimney Cap Installation Safely
Let’s face it, nobody likes climbing onto the roof, but it’s part of the job. Make sure your ladder is stable and tall enough, and always check the weather—roofs and rain are not friends. If you’re uncomfortable with heights, don’t hesitate to call in a pro. Safety isn’t just a suggestion; it’s non-negotiable. And if you do head up there, take your time and watch your step.
“The best repair is the one you don’t have to do twice. Take your time, and do it right the first time.”
Once you’re up top, take a look around the chimney. Clean off any leaves, soot, or old nests. If you spot any cracks or crumbling bricks, it’s a good idea to fix those first—your cap can’t do its job if the base isn’t solid.
Fitting and Fastening: The Main Event
Here’s where the real action happens. Grab your cap and check the fit. Some caps slide inside the flue, while others grip the outside, so make sure you’ve got the right kind for your setup.
- Dry Fit: Place the cap on the chimney before tightening anything. Make sure it sits evenly and covers the entire opening.
- Secure It: Most caps come with set screws or clamps. Use your screwdriver or drill to tighten these, but don’t overdo it—you want the cap snug, not squished. If your cap comes with anchors or masonry screws, follow the instructions included. A good fit means no rattling, even on windy days.
- Double Check: Give the cap a gentle wiggle. It should feel firmly attached, without any wobble. This is your last chance to make adjustments before you head back down.
For extra security, some folks like to add a bead of waterproof sealant around the base, especially if the chimney crown has tiny gaps. This isn’t always necessary, but it can help keep water from sneaking in around the edges.
Final Touches and Maintenance Tips
Congratulations, you did it! Before you pack up, take a minute to glance around your roof for any stray tools or fasteners. Once you’re safely back on solid ground, jot down the installation date somewhere handy. Why? Because chimney caps—like everything else—wear out over time. It’s smart to check on them once a year, especially after storms or heavy winds.
If you ever hear rattling or see rust streaks, it might be time to tighten things up or swap out the cap. Just remember, keeping that little “hat” in good shape saves you headaches down the line, from water leaks to squirrel invasions.
Wrapping Up: The Little Details Matter
All in all, Chimney Cap Installation is one of those home projects that pays off big time for a small bit of effort. With the right prep and a careful approach, you can do it yourself and enjoy the peace of mind that comes with a well-protected home. Just remember—measure, check your fit, secure everything snugly, and always put safety at the top of your list.
Read More: Chimney Sweep


